
Undoubtedly absolutely nothing more depressing than a battery problem. You forgot the lights on or there is a inner problem and your Mercury model Villager battery is gone! Not very useful when you have stuff to complete.
Lucky you , the battery substitution process is manageable and the only serious discomfort is selecting the perfect battery for your Mercury model Villager.
The battery replacement is very basic and it needs only three actions!
If you desire to find the most effective battery for your Mercury model Villager here a few proposals that you will find on Amazon, a world famous website


Just after choosing your next battery, observe these next simple steps and you might be good to go back again with your car
Prior to taking out your battery, we want to remind you to park the vehicle in a consistent place, emergency break on and be clear that the engine is off!
1 – Disconnect the battery cables and wires
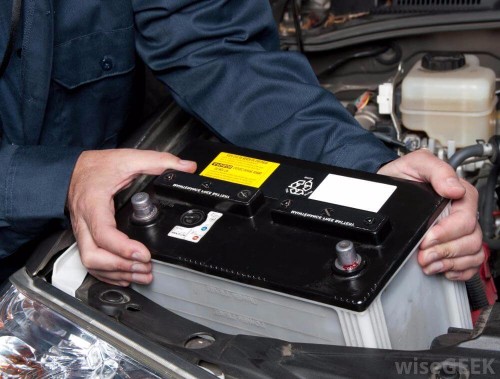
The battery is placed under the hood of your automobile. Pull out the hood release lever placed on the vehicle driver side. Soon after you gain access to to the battery, you will certainly notice that there is two wires over it. Be very careful, there is one positive cable and one negative cable. You have to consider where these were positioned in or you will definitely be in a tough time when settling back the cool new battery on your car.
2 – Remove the previous battery of your Mercury model Villager
Getting rid of the old dead battery from your car should not be a issue. Now that all cables are taken off, just detach the unwanted battery and that’s it. Be vigilant because batteries can be extremely weighty. If you aren’t convinced about your strength, help would probably be enjoyable.
In cases where you find some particles or any additional impurities, seize a cloth and purify the battery’s tray to prevent any concerns for the following step
3 – Put in the latest battery on your Mercury model Villager
If you achieved things perfectly, you will definitely maintain in mind the previous battery location. Insert the fresh new battery in the actual same location and join the positive cable on the appropriate place and then similar thing for the negative cable.
Now your car should be working like the first day!
As soon your battery is exchanged, don’t put the former battery in the trash can or in the environment! This car part is heavily poisonous and it will be damageable for the environnement. Go recycling the battery or maybe give it back again in a garage!
Last update on 2019-02-22 / Affiliate links / Images from Amazon Product Advertising API